There’s a quiet magic to nap time. The house goes still, the monitor hums softly, and you suddenly have a sliver of the day that belongs entirely to you. This tutorial is about using those precious minutes to create something cozy, useful, and satisfying – a cushion cover made from an old cardigan, finished before your little one wakes up.
Key Takeaways
- This is a genuine 10-minute project. A craft can be completed in 10 minutes with the right prep, making it one of the fastest upcycling wins you’ll find. Transforming an old cardigan into a throw cushion is a fast upcycling project that requires almost no experience.
- No sewing machine needed. All you need is scissors, a tape measure, and either a hand-sewing needle or strong fabric glue. A no-sew method uses fabric glue or iron-on tape for creating cushions if stitching isn’t your thing.
- The button band does the hard work for you. Existing buttons create a removable cover for easy cleaning or replacement – no zippers, no fuss.
- It clears clutter and adds character. Those stretched-out cardigans from a couple of winters ago become a reading-nook cushion your child will actually use.
- Written for real parents with real schedules. This tutorial comes from Little Button Diaries’ nap time crafts series, designed for caregivers who want a quick, calm, creative win while the kids sleep.
Why a 10-Minute Cardigan Cushion Is the Perfect Nap Time Craft
It’s a Sunday afternoon in late summer. Your three-year-old is finally asleep after a morning of sand play and snack negotiations. You have maybe forty minutes – if you’re lucky. You don’t want to spend the whole window scrolling your phone, but you also don’t want to start something you can’t finish. This is exactly where nap time crafts shine.
We all have that cardigan. The one that’s a bit bobbled, slightly stretched at the elbows, too worn to donate but too loved to bin. Maybe it’s a chunky knit from a few winters back, or a soft cotton blend you lived in during those early baby days. It still has great texture, decent buttons, and plenty of life left in the fabric.
Here’s why repurposing old cardigans can create cushions in 10 minutes and why it’s the ideal nap time activity:
- It’s fast. The whole project comes in under 15 minutes, and realistically closer to 10 if your materials are ready. Upcycling old sweaters into cushions can be done in about 10 minutes with a standard adult cardigan and a 16-inch pad.
- It’s quiet. No sewing machine whirring, no power tools – just scissors, a needle, and your kitchen table.
- It can pause. If nap time ends early, you can set this down mid-stitch and pick it up tomorrow without losing your place.
- It’s genuinely useful. The finished cushion can live in a story corner, a preschool calm-down spot, or a movie-night pile on the sofa.
A cardigan can function as a cushion cover thanks to its button closure. That button band becomes a ready-made opening – no zipper installation, no envelope-back folding. Using existing buttons eliminates the need to sew a zipper or hand-stitch a closure, which is the step that usually eats up time in cushion-cover projects.
This is upcycling at its simplest. Unlike recycling, which breaks materials down, upcycling preserves the original fabric and adds new value. Upcycling materials promotes creativity and sustainability in crafting, and it fits perfectly into Little Button Diaries’ approach of making fun things from stuff you already have around the house.
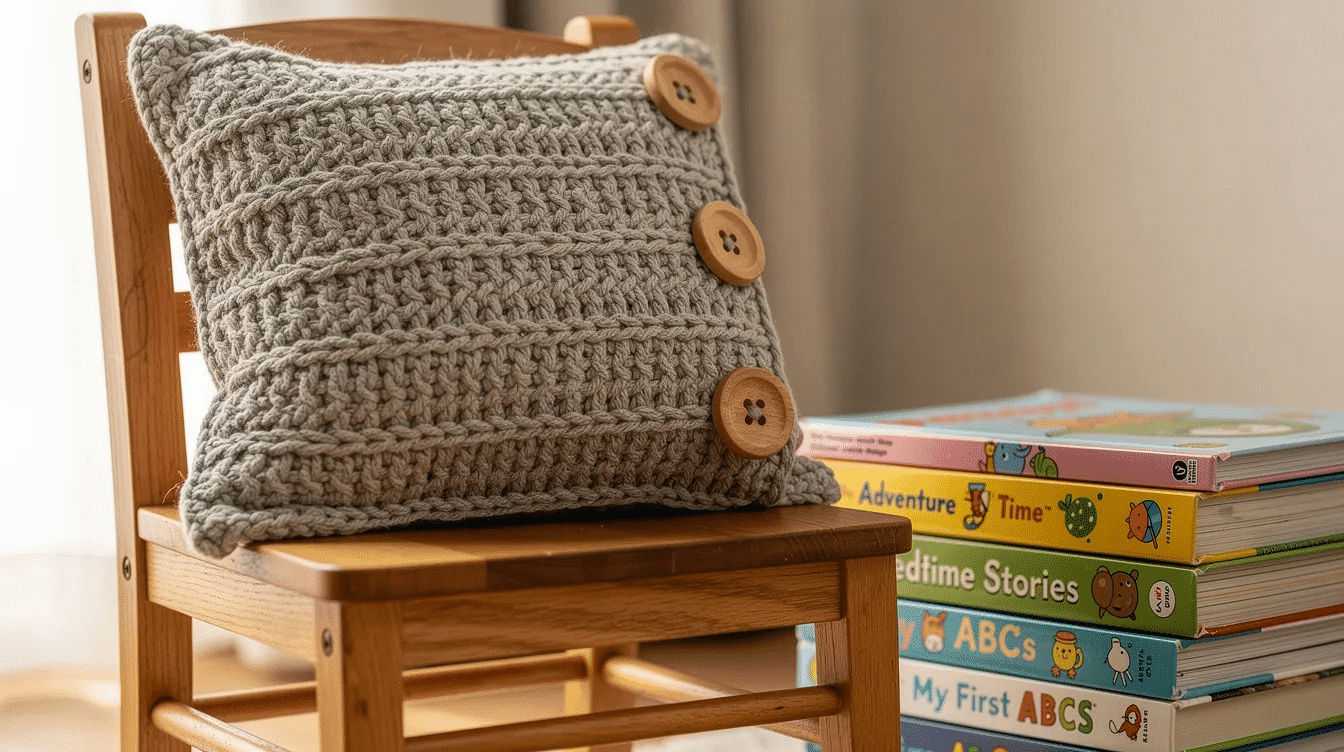
Step-by-Step: From Cardigan to Cushion in 10 Minutes
Here’s the full process for a standard adult cardigan and a 16-inch (40 cm) cushion pad. An old cardigan can be quickly transformed into a cushion with minimal sewing – and if you prefer no sewing at all, I’ve got you covered with a glue option too.
What You’ll Need
Item | Notes |
|---|---|
One adult cardigan with front buttons | A medium women’s knit works perfectly; pockets and textured ribs are a bonus |
16″ × 16″ cushion insert | Poly-fiber fill is washable, hypoallergenic, and holds up to kid use |
Fabric scissors | Sharp ones – adult-only tool |
Tape measure or ruler | For marking your cut lines |
Fabric chalk or washable pen | Any light-colored marker that shows on knit |
Hand-sewing needle and thread | OR strong fabric glue (non-toxic, water-based) |
Optional extras | Felt shapes, spare buttons, or appliqués for decoration |
Prep (About 2 Minutes)
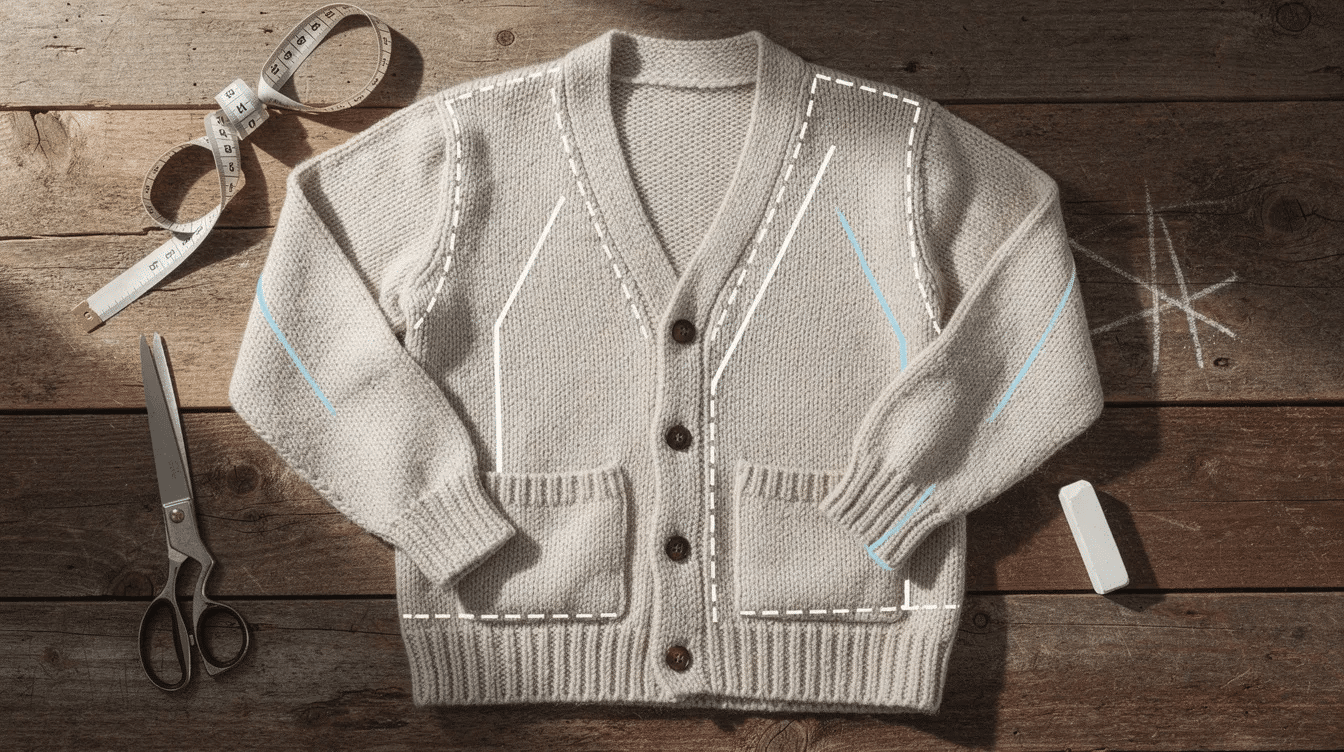
1. Button the cardigan fully and lay it flat on a clear table, front side facing up. Smooth out any wrinkles and align the side seams so both layers sit evenly on top of each other.
2. Place your cushion pad on top of the buttoned cardigan, centered over the button band. You want to see at least half an inch of fabric extending beyond the pad on all sides. Use your tape measure to mark a square about 17 inches by 17 inches – that extra inch gives you seam allowance. Draw your cutting lines with chalk or a washable pen.
Cut (About 1 Minute)
3. A button-front cushion can be made by cutting the cardigan to fit the cushion. Cut along your marked lines through both layers at once. Keep your cuts confident and smooth – knit fabric is forgiving, and a slightly wobbly edge won’t show once the cushion is stuffed. If the cardigan has a ribbed hem or interesting neckline detail near your cutting area, try to keep it visible on the front panel. Attractive buttons or pockets from a cardigan can enhance the cushion’s design and give it character you couldn’t buy in a shop.
Quick tip: If you’d rather skip cutting entirely, the no-cut cushion method uses the cardigan directly around a cushion insert. Simply button up, tuck the sleeves inside, fold excess fabric behind the pad, and secure with a few stitches or safety pins. It’s less tailored but even faster.
Assemble (About 4–5 Minutes)
4. Unbutton the front. Flip your cut fabric so the right sides (the “outside” of the cardigan) face each other, with the buttons sandwiched inside. Pin or clip the layers together around the three closed edges – that’s the top and both sides. The button band stays open at the bottom.
5. Now either hand-stitch or glue those three edges:
- Hand sew: Use a simple backstitch about half an inch from the edge. At roughly five stitches per inch across three sides of a 16-inch square, you’re looking at around 48 stitches total – comfortable work for three to five minutes. Backstitch the start and finish to lock everything in place.
- Fabric glue: Run a continuous line of non-toxic fabric glue about 1 cm from the edge along all three sides. Press the layers firmly together and hold for 30 seconds per side. Allow five to ten minutes of set time before the next step – check your product label for specifics.
Sewing produces more flexible, durable seams. Glue is faster but can stiffen the fabric slightly. For a cushion that will live in a busy playroom, hand-sewn seams are the stronger choice.
Turn and Stuff (About 2 Minutes)
6. If you used glue, give it that short set time. Then unbutton the opening, reach inside, and turn the cover right side out. Push out the corners gently with your finger or the blunt end of a pen.
7. Insert the cushion pad through the button opening and re-button. Done.
Time-Saving Tips
- Pre-thread your needle before nap time starts. It sounds obvious, but threading a needle in dim light while listening for the monitor is nobody’s idea of relaxing.
- Skip the pins if you’re confident cutting knits – fabric clips or even binder clips from your desk work just as well.
- Chunkier knits from colder months – like a thick Aran cardigan – hide wonky stitches brilliantly. Nobody will notice if your line wobbles a bit.
Variations and Kid-Friendly Twists
Once nap time is over and your little one is rubbing their eyes and padding out to find you, this project becomes a shared activity. Children aged four to six can safely help with the decorating stage – and they’ll love that the cushion started as something they recognize from the closet.
Here are some ways to adapt the project:
- Let them choose. Lay out two or three old cardigans and let your child pick the color. This small decision gives them ownership of the finished cushion.
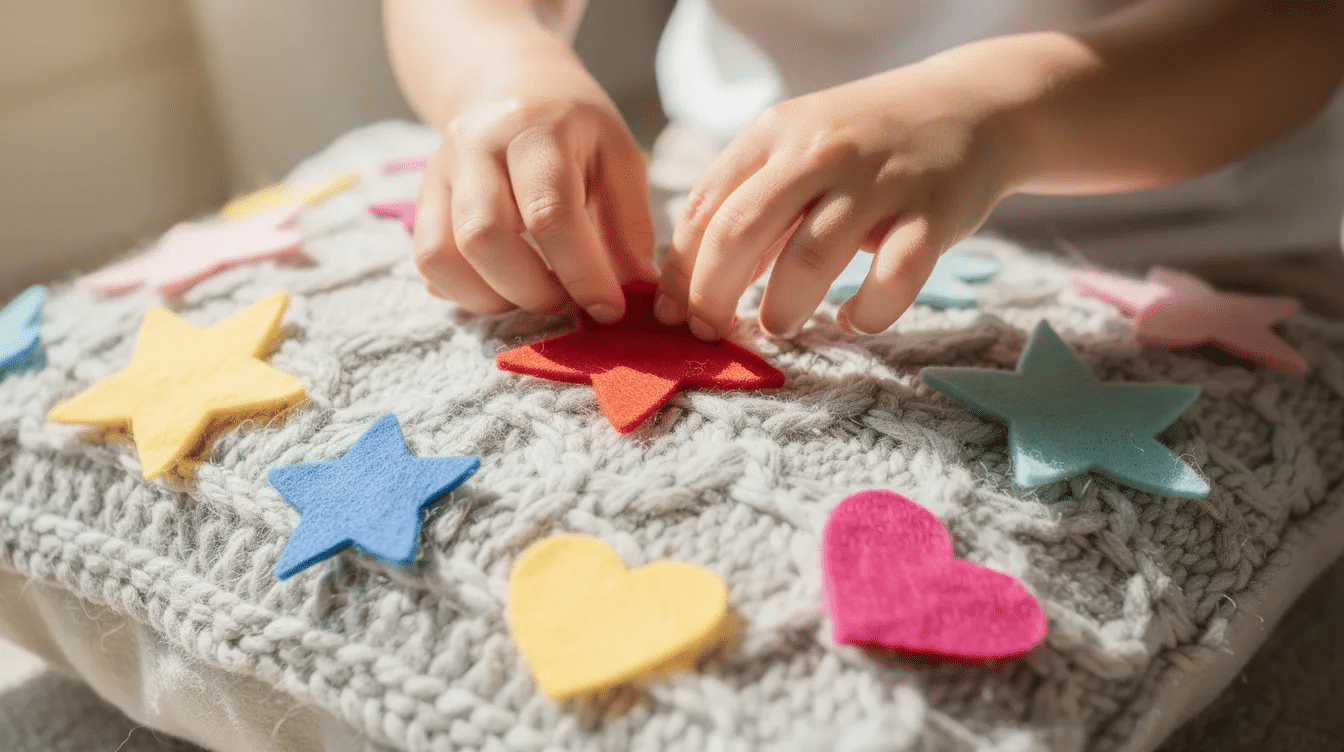
- Seasonal themes. For autumn, use a rust or mustard cardigan and let your child arrange pre-cut felt leaves on the front. For winter bedtime story cushions, try navy knit with felt moons and stars glued on with child-safe adhesive under your supervision.
- Keepsake mini cushions. Have a tiny baby cardigan from your child’s first year? It’s the perfect size for a small cushion to display on a nursery shelf. Add an embroidered name or date for a memento that actually gets used.
- Bolster pillows. Cutting the sleeves off a cardigan can create a bolster or cylindrical pillow – just sew one end closed, stuff with filling, and close the other end. Great for a reading nook.
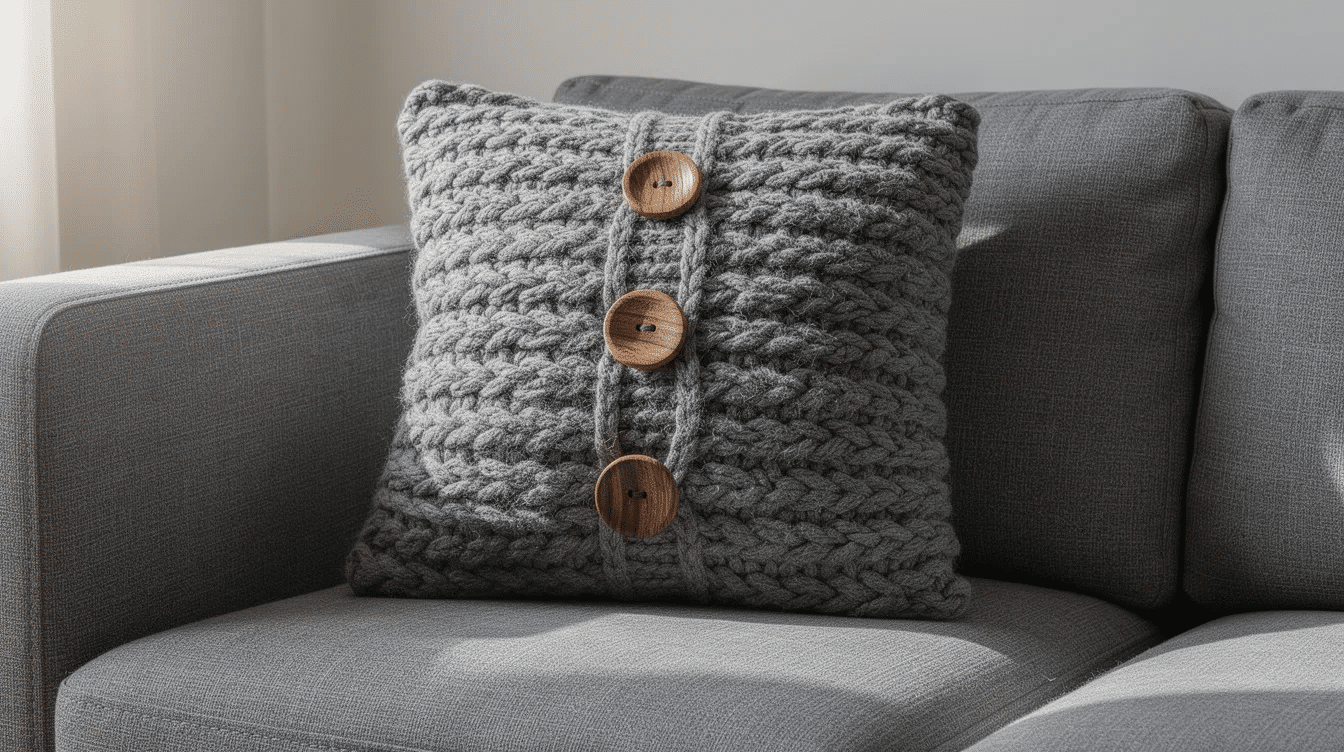
- Textured designs. For crafters who want to experiment, cutting the cardigan into strips can create a sculptural pillow effect – braided or woven across a plain backing.
- No-sew alternatives. If you don’t sew at all, hemming tape plus a warm iron works on cotton and cotton-blend knits. Just confirm your fabric can tolerate iron heat – synthetics can melt. All-glue construction is also an option, but allow the full recommended cure period (often 24 hours) before letting children cuddle the cushion.
Safety note: sharp scissors and needles are adult-only tools, especially with children under six. Kids can arrange buttons, place felt shapes, and pick colors – but the cutting and stitching stays with you. If you’re looking for more child-led craft activities for kids, we have plenty that put safe tools directly in small hands.
More Nap Time Crafts & Fun Things to Do with Old Clothes
Once you’ve made one cardigan cushion, you’ll start seeing ten-minute projects hiding everywhere in your wardrobe. That feeling of turning something forgotten into something useful is genuinely addictive – and it fits perfectly into a single afternoon rest window.
Here are a few more ultra-quick upcycling ideas for nap time:
- No-sew tote bags from old T-shirts. A cotton tee from a fun run or a faded graphic shirt becomes a simple tote with just scissors and a few knots. No sewing required.
- Wrist warmers from cardigan sleeves. Those sleeves you cut off? Trim them to length, fold the raw edge under, and stitch or glue a clean hem. You’ve made chunky knit wrist warmers in under five minutes.
- Hair ties and weaving loops from old leggings. Cut leggings into half-inch rings for instant hair ties, or use them as weaving loops for a hand crafting session with your child later.
- Clothing-to-clothing upcycles. An outgrown adult shirt can become a little girl’s dress with minimal sewing – another project that fits the nap time window.
Each of these can be completed or paused within a single nap. That’s the whole point: you’re not committing to a week-long project. You’re making something in a quiet pocket of time, working at the kitchen table with a cup of coffee, listening to the monitor, doing something creative and satisfying with your hands.
Beyond the Wardrobe: Quick Crafts for Evenings and Weekends
If you’ve enjoyed these nap time crafts and want to extend the creative energy into family time, here are more fun things to try with your kids once they’re awake – many of which you can prep during nap time and enjoy together later:
Calming and bedtime crafts:
- Create a starry night jar for a calming effect using a mason jar and glow-in-the-dark paint. You can also create a starry night jar with glow in the dark stars for a different look.
- Make a glowing sensory bottle for bedtime by filling a clear bottle with water, glitter glue, and small glow elements. You can create a glowing sensory bottle for bedtime in well under ten minutes.
- Make a DIY night light together as a craft using a jar, tissue paper, and a battery-operated tea light.
- A shoe box can be upcycled into a constellation project – poke holes in the lid, slip it over a flashlight, and project stars onto the ceiling.
- Use printable constellation cards for flashlight activities after lights-out. Just print the cards on paper during nap time, and they’re ready for evening play. You can use printable constellation cards for flashlight activities any clear night.
Active and playful ideas:
- Build a pillow fort using pillows and blankets for a rainy-afternoon adventure. You can also build a pillow fort for cozy family time on a weekend evening.
- Make moon sand with a simple recipe at home – just flour and baby oil. Kids can shape it, mold it, and it holds together beautifully.
- Glow in the dark balloons are easy to make with a glow stick tucked inside before inflating.
- Make DIY glow in the dark bubbles for fun by adding glow-stick liquid to bubble solution.
- Fold a dollar bill into a star using a simple tutorial – a great fine-motor challenge for older preschoolers learning about shapes and patience.
- Host a family movie night with snacks and blankets as a reward for a week of good nap times.
For more ideas in this vein, check out our DIY activities roundup or our guide to reuse arts and crafts that turn everyday items into creative play. If your child loves sensory play, our sensory art activities collection has options for a range of ages and abilities.
These mini projects can become calm, screen-free rituals. You don’t need to spend a fortune on materials or clear an entire day. Most of the best nap time crafts use things you already own – an old cardigan, a jar, some paper, a bit of glue – and they leave you with something your family will actually use and enjoy.
FAQ
Here are quick answers to common worries parents have about speed, safety, and durability when crafting during nap time.
Will this 10-minute cardigan cushion really hold up to everyday family use?
It will – provided you choose the right fabric and finishing method. A tightly knit cotton or wool-blend cardigan from a decent-quality brand will hold up far longer than a very loose, holey knit. According to knit cushion care guides, fabrics with a tight gauge or ribbing hold their shape best under regular use.
If your cushion will live in a busy playroom, reinforce your seams with a backstitch rather than a loose running stitch. Double-stitch the corners for extra durability. For cleaning, spot-clean stains with mild detergent, and hand wash the cover gently in cold water to avoid stretching the knit. Air dry it flat rather than wringing it out.
Is fabric glue safe for a cushion my preschooler will cuddle?
Choose a non-toxic, water-based fabric glue that is clearly labeled for textiles. Products bearing the AP Non-Toxic seal (certified by ACMI) are a reliable choice. Always follow the manufacturer’s instructions for ventilation and drying time.
The key detail most parents miss: allow at least the full recommended cure period – often 24 hours – before letting children snuggle the cushion. Glue that feels dry to the touch may not be fully cured. Hand-sewn seams remain the most robust option for heavily used kid cushions, but cured fabric glue is considered safe for close contact once it has set completely.
Can I make this if I only have zip-up cardigans or hoodies?
Absolutely. Use the zip as the opening instead of buttons. The method is nearly identical – just make sure the zipper pull ends up at the bottom edge of the cushion so it doesn’t press against your child’s face during story time.
Stitch or glue around the zipper ends several times so they don’t pop open under pressure. Thick hoodies can make wonderfully squishy floor cushions, especially for reading corners and movie nights. The hood itself can be tucked inside for extra padding, or left hanging out as a playful design detail that kids find hilarious.
What size cushion pad works best for an adult cardigan?
For most small to medium women’s cardigans, a 16-inch by 16-inch pad is the sweet spot. Larger or men’s cardigans can accommodate an 18-inch by 18-inch insert comfortably. Before you cut anything, lay the pad on top of the buttoned cardigan and visually check that you have at least one inch of seam allowance on all sides.
A useful trick: slightly overstuffing gives a plumper, more polished look and helps disguise any minor cutting or stitching imperfections. If the cover feels a little loose, size up your insert by one inch rather than trying to take in the seams.
How can I involve my child safely in this nap time craft?
The cutting and stitching should always be done by an adult, especially with children under six. But once the cushion is finished, there’s plenty of room for small hands to join in:
- Let them choose which cardigan gets upcycled – they love having a say.
- Lay spare buttons on the finished cushion for them to arrange into patterns.
- Provide pre-cut felt shapes and child-safe glue so they can decorate under supervision.
- Turn it into a story-time prop: a “magic cardigan cushion” that only comes out for bedtime books and calm moments.
For more projects that give kids safe, hands-on involvement, our DIY fidget toys guide and nap time magnets tutorial are great places to start. And if you’ve enjoyed this project or have questions we haven’t covered, drop us a note in the comments – we’d love to hear how yours turned out, and we always share our favorites at the end of each week.